Roofing Website: Pages and Features That Win Roofing Jobs
What a roofing website needs, from a free inspection offer and storm damage help to service pages, warranties, photos of your work and the areas you cover.
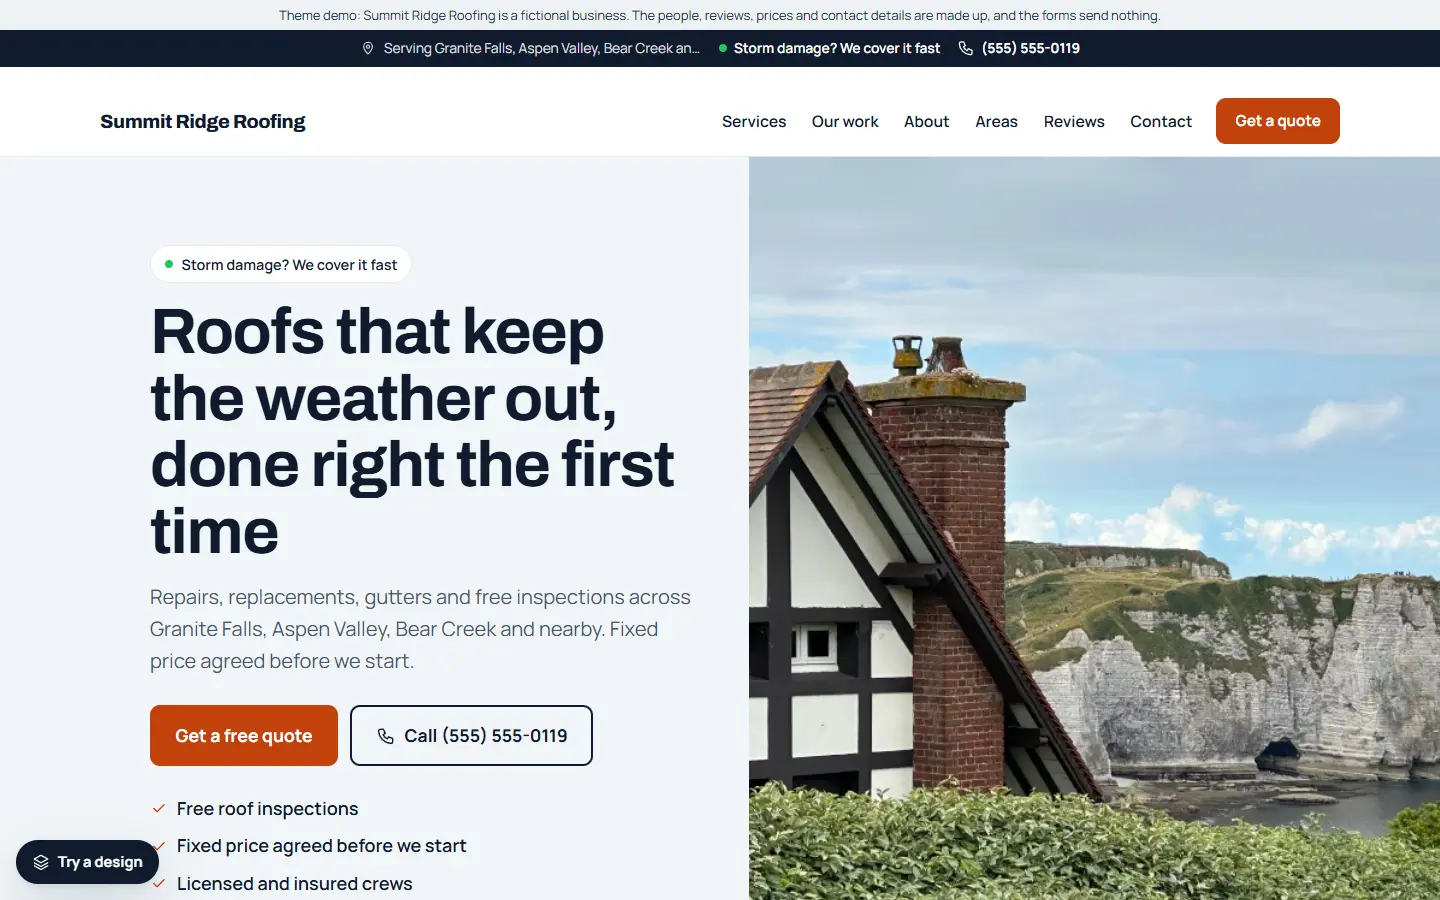
A new roof is one of the bigger bills a homeowner faces, and most people only buy one or two in their life. They are nervous about getting it wrong. Some come to you after a storm with water coming through the ceiling; others are planning ahead and comparing quotes for weeks.
A roofing website has to calm both: fast help for the urgent ones, and enough proof and detail for the careful ones. Here is what to include.
1. A clear first step
Make the first step easy and low-risk. If you offer free roof inspections, say so on the first screen with a button to book one. Next to it, your phone number as a tap-to-call link.
2. Storm damage help
After a storm, people search urgently. A storm damage page or section should say what to do first to stay safe and limit damage, how quickly you can come out, and whether you help with insurance paperwork, if you do.
3. One page for each service
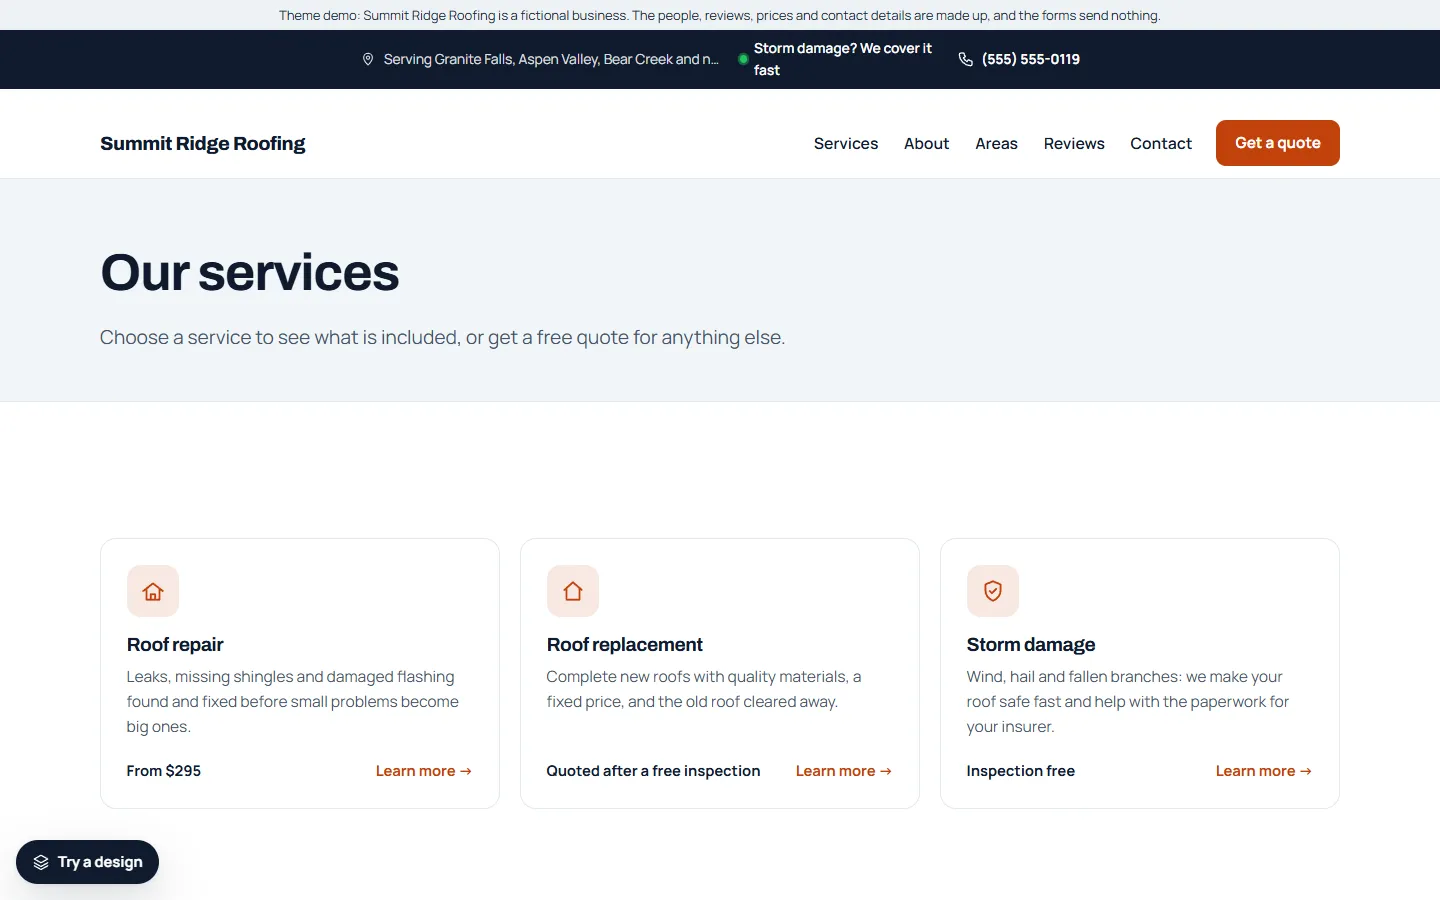
Give each service its own page:
- Roof repair
- Roof replacement
- Storm damage
- Gutters and downspouts
- Metal roofing, or the materials you specialise in
- Inspections
Explain what is involved, roughly how long it takes, and what happens to the old roof and the mess. End each page with a quote button.
4. Photos of your own work
Show real roofs you have done, ideally before and after, with the town and the material. Use only your own photos, and only of homes whose owners agree.
5. Warranties, licences and insurance
Roofing customers ask about guarantees. Say what warranty you give on your work and what the manufacturer covers, show your licence where your area requires one, and say that you are insured. Only state what is true.
6. A quote form
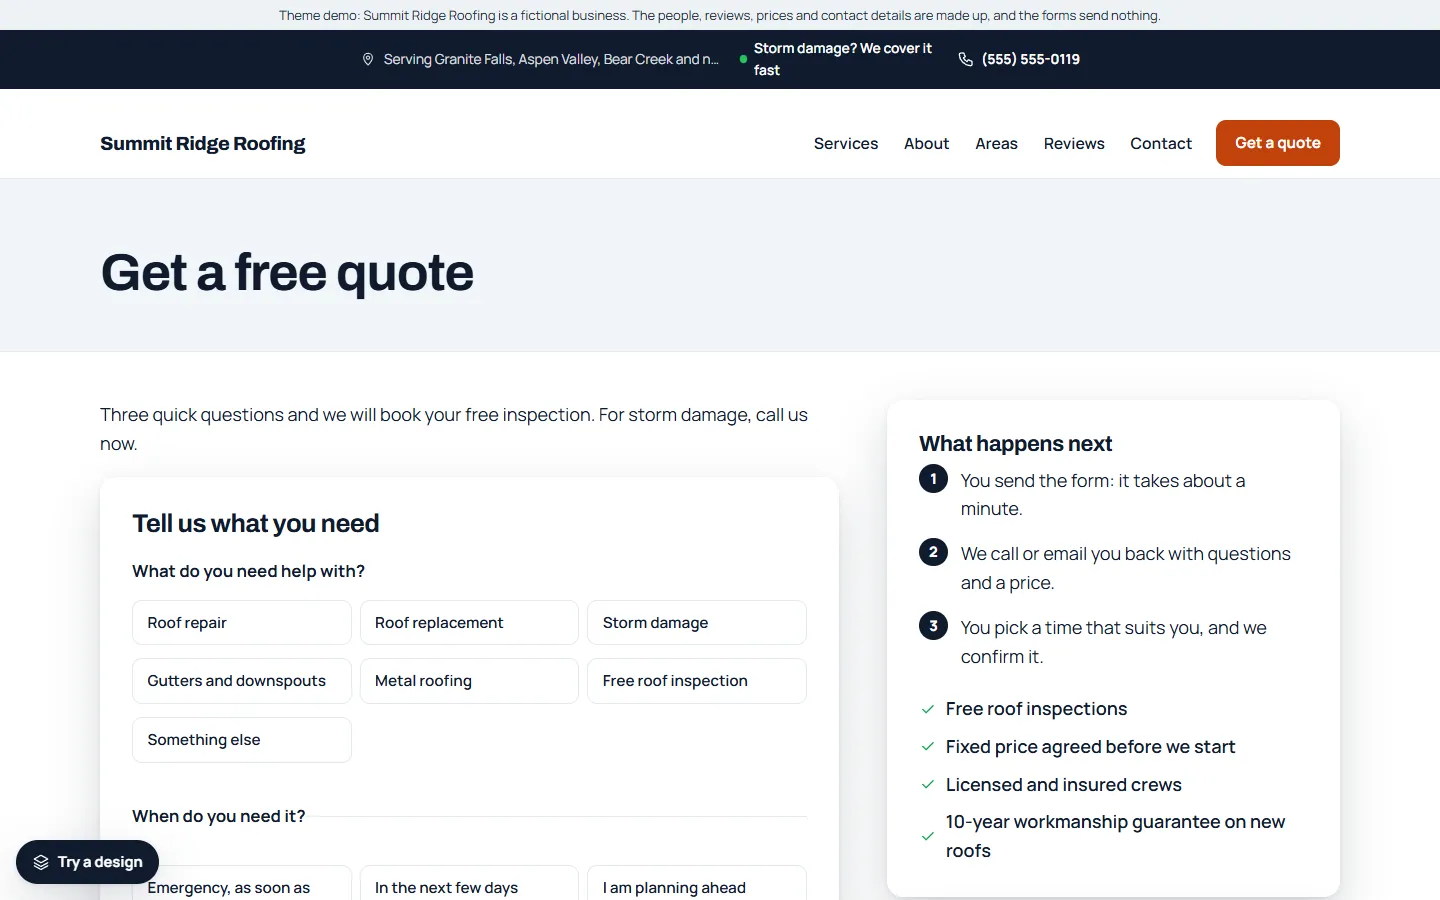
Ask what they need, the type of property, the roof material if they know it, and whether there is an active leak. A one-page form works well for roofing, because people expect to give a few details for a big job.
7. Service areas and real reviews
List the towns you cover and show reviews from real customers with the job you did. Link to your Google reviews. Never write or copy reviews.
8. Business details Google can read
Link your Google Business Profile with the same name, address and phone number, use page titles that say the service and the area (“Roof Replacement in Springfield | Your Roofing Co”), and add structured data with your business type and areas.
Quick checklist
- A free inspection offer or other easy first step
- Storm damage help
- A page for each service
- Photos of your own work
- Warranties, licence and insurance
- A quote form
- Service areas and real reviews
- Google Business Profile and structured data
Starting from a roofing template
If you would rather start from a finished site, our roofing template for the Mainstay theme has this list ready to edit:
- A free inspection offer and a storm damage line, up front.
- A one-page quote form, with requests saved in a Quote requests list inside WordPress.
- Six service pages: roof repair, roof replacement, storm damage, gutters and downspouts, metal roofing and a free roof inspection.
- Service areas, sample reviews, opening hours and an about page, ready for your own details.
- One settings page for your business details, which also fills in the structured data Google reads.
The demo business, Summit Ridge Roofing, is made up. You can try the live demo on your phone and read the full setup guide before you buy.